SpringBoot中读取配置的几种方式
一、介绍
在SpringBoot项目中,我们使用application.yml或者application.properties文件,那么在如何读取其中的配置参数呢?
有以下这么几种
-
使用@Value注解
-
使用@ConfigurationProperties注解
-
使用@PropertySource+@Value注解
-
使用@PropertySource+@ConfigurationProperties注解
-
使用Environment.getProperty()
前面两种大家都很熟悉,也在常常使用,剩下这几个就比较陌生了,一起来看看吧。
二、方法
1)@Value注解
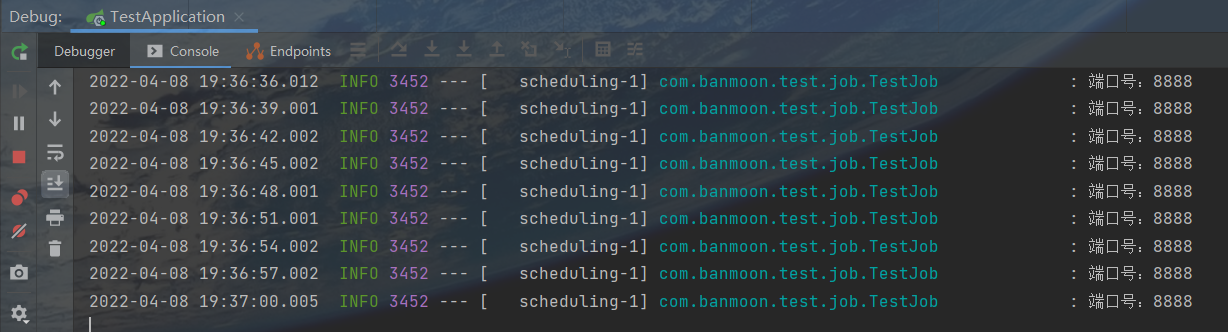
假如我们有这样的一个application.yml配置文件
对于这样单条的配置,我们可以采用@Value去进行获取
1
2
3
4
5
6
7
8
9
10
11
12
13
14
15
16
17
18
19
20
| package com.banmoon.test.job;
import lombok.extern.slf4j.Slf4j;
import org.springframework.beans.factory.annotation.Value;
import org.springframework.scheduling.annotation.Scheduled;
import org.springframework.stereotype.Component;
@Slf4j
@Component
public class TestJob {
@Value("${server.port}")
private Integer port;
@Scheduled(cron = "0/3 * * * * *")
public void start(){
log.info("端口号:{}", port);
}
}
|
优缺点也很明显,简单快捷,但只能单个单个获取,如果要获取一批配置就会显得十分繁琐
注意,@Value不能用来修饰静态属性,会读取不到,导致属性为Null的
修改一下上面的属性,让它变成静态属性
1
2
3
4
5
6
7
8
9
10
11
12
13
14
15
16
17
18
19
20
| package com.banmoon.test.job;
import lombok.extern.slf4j.Slf4j;
import org.springframework.beans.factory.annotation.Value;
import org.springframework.scheduling.annotation.Scheduled;
import org.springframework.stereotype.Component;
@Slf4j
@Component
public class TestJob {
@Value("${server.port}")
private static Integer port;
@Scheduled(cron = "0/3 * * * * *")
public void start(){
log.info("端口号:{}", port);
}
}
|
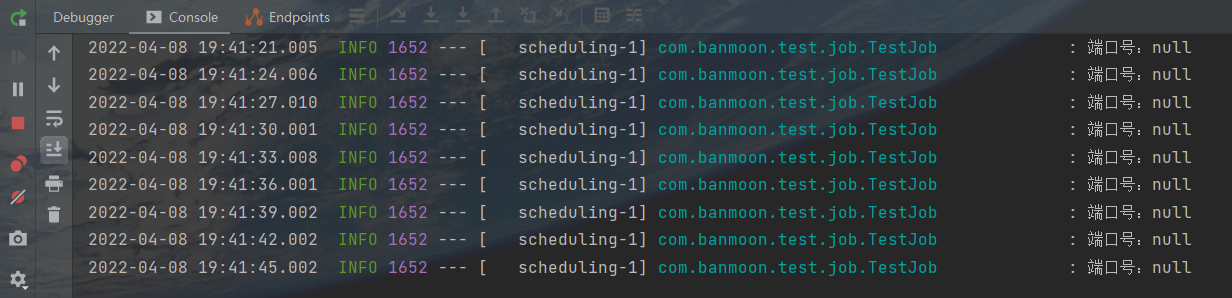
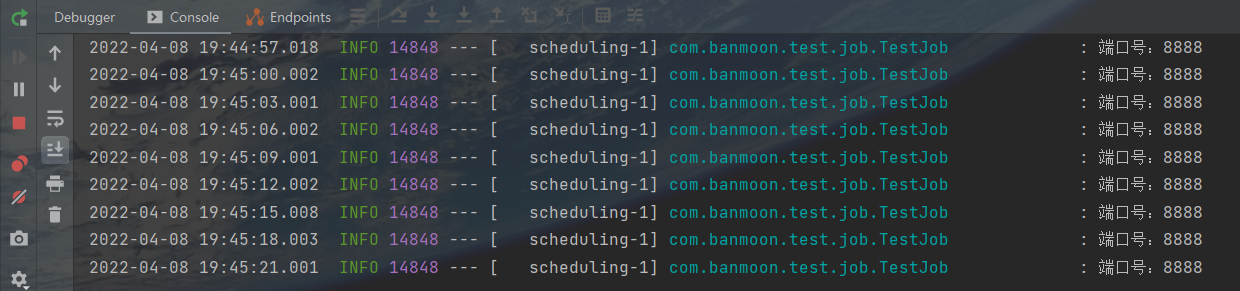
那么,如果非要使用静态属性该怎么办呢?虽然不建议使用,哎可以改成这样。
1
2
3
4
5
6
7
8
9
10
11
12
13
14
15
16
17
18
19
20
21
22
23
24
| package com.banmoon.test.job;
import lombok.extern.slf4j.Slf4j;
import org.springframework.beans.factory.annotation.Value;
import org.springframework.scheduling.annotation.Scheduled;
import org.springframework.stereotype.Component;
@Slf4j
@Component
public class TestJob {
private static Integer port;
@Value("${server.port}")
public void setPort(Integer port) {
TestJob.port = port;
}
@Scheduled(cron = "0/3 * * * * *")
public void start(){
log.info("端口号:{}", port);
}
}
|
聪明的你马上就知道了是怎么一回事了,这和Bean的初始化有关。如果不懂,还是不要使用了,不然说不定获取到的还是一个Null
2)@ConfigurationProperties注解
这个注解也十分熟悉,它可以将配置信息映射成我们的一个Bean,通过这个Bean,我们就可以获取到配置的信息啦。它解决上面@Value只能一个一个去获取配置的繁琐痛点。
假设我们现在有这样的一个配置
1
2
3
4
5
6
7
| user:
name: banmoon
age: 18
sex: 男
friends:
- 阿超
- 九月
|
那么,我们只需要这样做,就可以映射成我们这个Bean了
1
2
3
4
5
6
7
8
9
10
11
12
13
14
15
16
17
18
19
20
21
22
23
| package com.banmoon.test.config;
import lombok.Data;
import org.springframework.boot.context.properties.ConfigurationProperties;
import org.springframework.stereotype.Component;
import java.io.Serializable;
import java.util.List;
@Data
@Component
@ConfigurationProperties(prefix = "user")
public class UserProperties implements Serializable {
private String name;
private Integer age;
private String sex;
private List<String> friends;
}
|
我们再获取一下这个Bean,打印一下里面的信息
1
2
3
4
5
6
7
8
9
10
11
12
13
14
15
16
17
18
19
20
21
22
| package com.banmoon.test.job;
import com.banmoon.test.config.UserProperties;
import lombok.extern.slf4j.Slf4j;
import org.springframework.beans.factory.annotation.Autowired;
import org.springframework.stereotype.Component;
import javax.annotation.PostConstruct;
@Slf4j
@Component
public class TestJob {
@Autowired
private UserProperties userProperties;
@PostConstruct
public void start(){
log.info("user配置信息:{}", userProperties);
}
}
|

这个注解比起@Value,编码的效率就快了不少
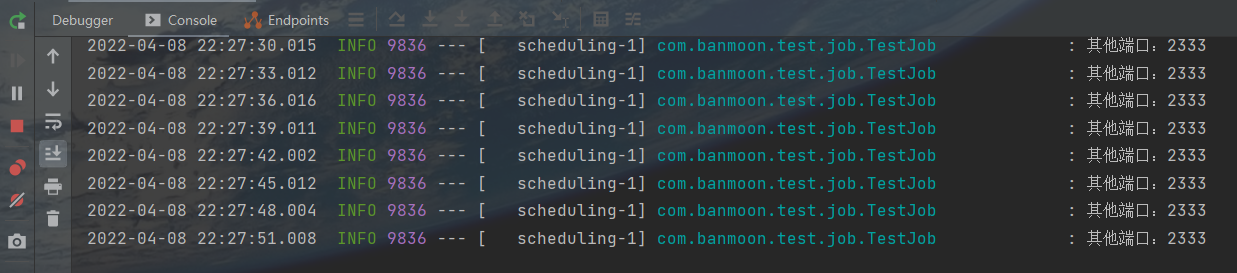
3)@PropertySource+@Value注解
在开发中,我们不只有application.yml一个配置文件,我们可能有多个,如果要加载其他的配置文件时。
@PropertySource注解就派上用场了,指定了加载哪个配置文件作为配置源。
假设我们现在多了一个user.properties的配置文件
只需要小改,在类上添加@PropertySource注解,指定加载这个配置文件即可。
由于@PropertySource只是指定了加载哪个配置文件,所以它还需要搭配@Value注解进行使用
1
2
3
4
5
6
7
8
9
10
11
12
13
14
15
16
17
18
19
20
21
22
| package com.banmoon.test.job;
import lombok.extern.slf4j.Slf4j;
import org.springframework.beans.factory.annotation.Value;
import org.springframework.context.annotation.PropertySource;
import org.springframework.scheduling.annotation.Scheduled;
import org.springframework.stereotype.Component;
@Slf4j
@Component
@PropertySource("classpath:user.properties")
public class TestJob {
@Value("${other.port}")
private String port;
@Scheduled(cron = "0/3 * * * * *")
public void start(){
log.info("其他端口:{}", port);
}
}
|
4)@PropertySource+@ConfigurationProperties注解
既然@PropertySource注解是指定加载某个配置文件,需要搭配@Value使用,那么它也可以搭配@ConfigurationProperties注解进行使用。
同样在user.properties文件中
1
2
3
4
5
| user.name=banmoon
user.age=18
user.sex=男
user.friends[0]=钟离
user.friends[1]=巴尔
|
我们只需要在类上指定上@PropertySource即可
1
2
3
4
5
6
7
8
9
10
11
12
13
14
15
16
17
18
19
20
21
22
23
24
25
| package com.banmoon.test.config;
import lombok.Data;
import org.springframework.boot.context.properties.ConfigurationProperties;
import org.springframework.context.annotation.PropertySource;
import org.springframework.stereotype.Component;
import java.io.Serializable;
import java.util.List;
@Data
@Component
@PropertySource("classpath:user.properties")
@ConfigurationProperties(prefix = "user")
public class UserProperties implements Serializable {
private String name;
private Integer age;
private String sex;
private List<String> friends;
}
|
在使用上,同上,这里代码就不贴出来了

5)Environment.getProperty()
最后一种,见都没有见过,环境获取参数?
同样测试一下,获取个端口看看
1
2
3
4
5
6
7
8
9
10
11
12
13
14
15
16
17
18
19
20
21
| package com.banmoon.test.job;
import lombok.extern.slf4j.Slf4j;
import org.springframework.beans.factory.annotation.Autowired;
import org.springframework.core.env.Environment;
import org.springframework.scheduling.annotation.Scheduled;
import org.springframework.stereotype.Component;
@Slf4j
@Component
public class TestJob {
@Autowired
private Environment environment;
@Scheduled(cron = "0/3 * * * * *")
public void start(){
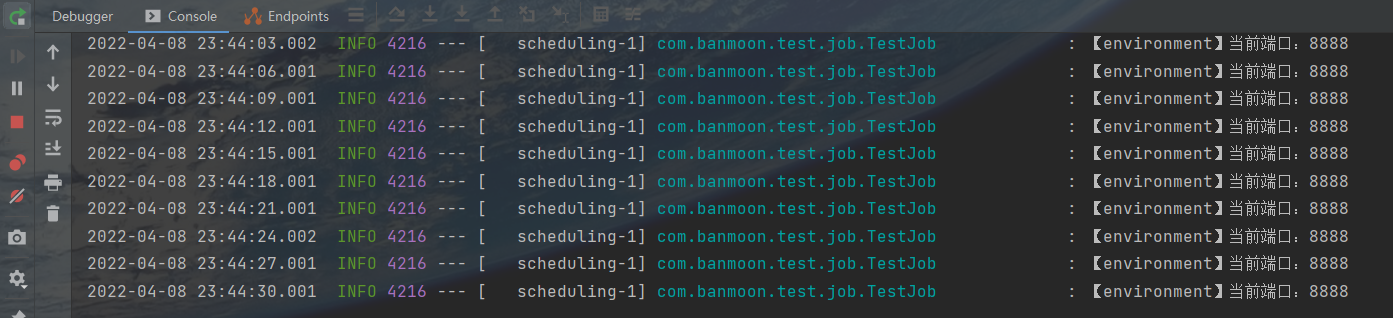
log.info("【environment】当前端口:{}", environment.getProperty("server.port"));
}
}
|
此方法,支持动态的获取需要的参数,虽然平常不常用,但还是做一下记录。
三、@PropertySource加载yml文件
在上面的示例中,@PropertySource加载的是properties文件,不代表它只能加载properties文件
比如说这次我们添加一个example.yml文件
在加载时,我们只需要这样指定就行
1
2
3
4
5
6
7
8
9
10
11
12
13
14
15
16
17
18
19
20
21
22
23
| package com.banmoon.test.job;
import com.banmoon.test.config.YamlPropertySourceFactory;
import lombok.extern.slf4j.Slf4j;
import org.springframework.beans.factory.annotation.Value;
import org.springframework.context.annotation.PropertySource;
import org.springframework.scheduling.annotation.Scheduled;
import org.springframework.stereotype.Component;
@Slf4j
@Component
@PropertySource(value = "classpath:example.yml", factory = YamlPropertySourceFactory.class)
public class TestJob {
@Value("${example.name}")
private String name;
@Scheduled(cron = "0/3 * * * * *")
public void start(){
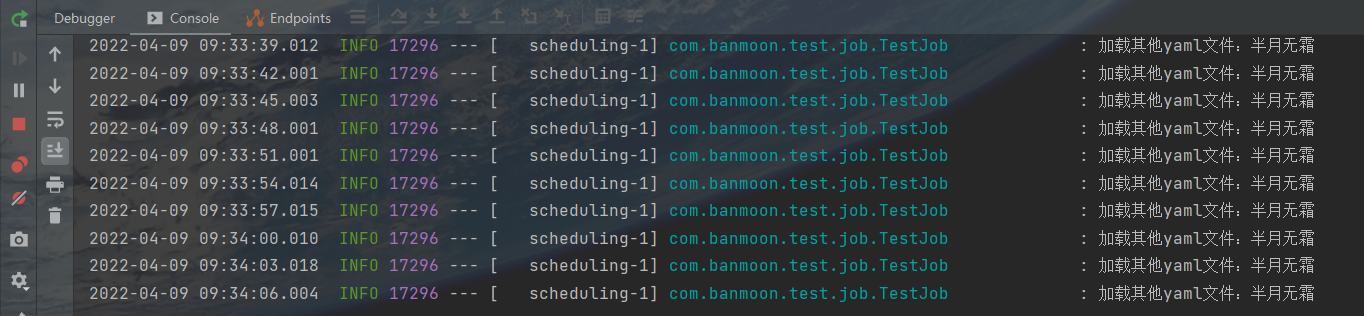
log.info("加载其他yaml文件:{}", name);
}
}
|
至于YamlPropertySourceFactory.java,这是我们自己实现的一个类,如下可以直接使用
1
2
3
4
5
6
7
8
9
10
11
12
13
14
15
16
17
18
19
20
21
22
| package com.banmoon.test.config;
import org.springframework.boot.env.YamlPropertySourceLoader;
import org.springframework.core.env.PropertySource;
import org.springframework.core.io.support.DefaultPropertySourceFactory;
import org.springframework.core.io.support.EncodedResource;
import java.io.IOException;
import java.util.List;
public class YamlPropertySourceFactory extends DefaultPropertySourceFactory {
@Override
public PropertySource<?> createPropertySource(String name, EncodedResource resource) throws IOException {
if (resource == null)
return super.createPropertySource(name, resource);
List<PropertySource<?>> sources = new YamlPropertySourceLoader()
.load(resource.getResource().getFilename(), resource.getResource());
return sources.get(0);
}
}
|
四、最后
我是半月,祝你幸福!!!